Healthy Family Part 2: Kombucha Brew Cycle

Whether you followed the steps for making your own Scoby at home that was outlined in Part 1 of this series, or if you happened to get one from a fellow home brewer friend, or even if you purchased one from a kombucha supplier, you’re finally ready to prepare your own batch of kombucha tea.
You’ll soon see that it is a fairly straight-forward process, and once you get the knack of it, it should only take you 20 minutes or so every week to 10 days. You do need a dash of kitchen-common sense to make sure you get it right, but as long as you pay attention to what you’re doing, you’ll be just fine.
Remember, kombucha has been around for about 2,000 years and has been brewed in a myriad of austere environments and conditions, so the odds of you doing something too wrong are pretty slim.
First, lets address some concerns that folks may have about home brewing kombucha. Because the yeast and healthy bacteria consume added and natural sugars, the byproduct is a trace amount of alcohol. How much? Not enough to make this a viable microbrewery endeavor, that’s for sure. Usually, you’re not going to find more than 1% of alcohol in your batch of home brewed kombucha (about ½ of 1 proof if that’s a more familiar unit of measure), so unless you plan on drinking a whole lot of it, you won’t notice it.
In fact, you probably have a better chance of getting a buzz using your mouthwash than enjoying a glass of kombucha. Still, there are people who are sensitive to alcohol, or even folks who for personal or religious reasons choose to avoid it, so this is just for your consideration.
With the exception of the Scoby and the starter tea (more on that in a minute), you can find the ingredients for brewing your own batch of kombucha from any regular grocery store.
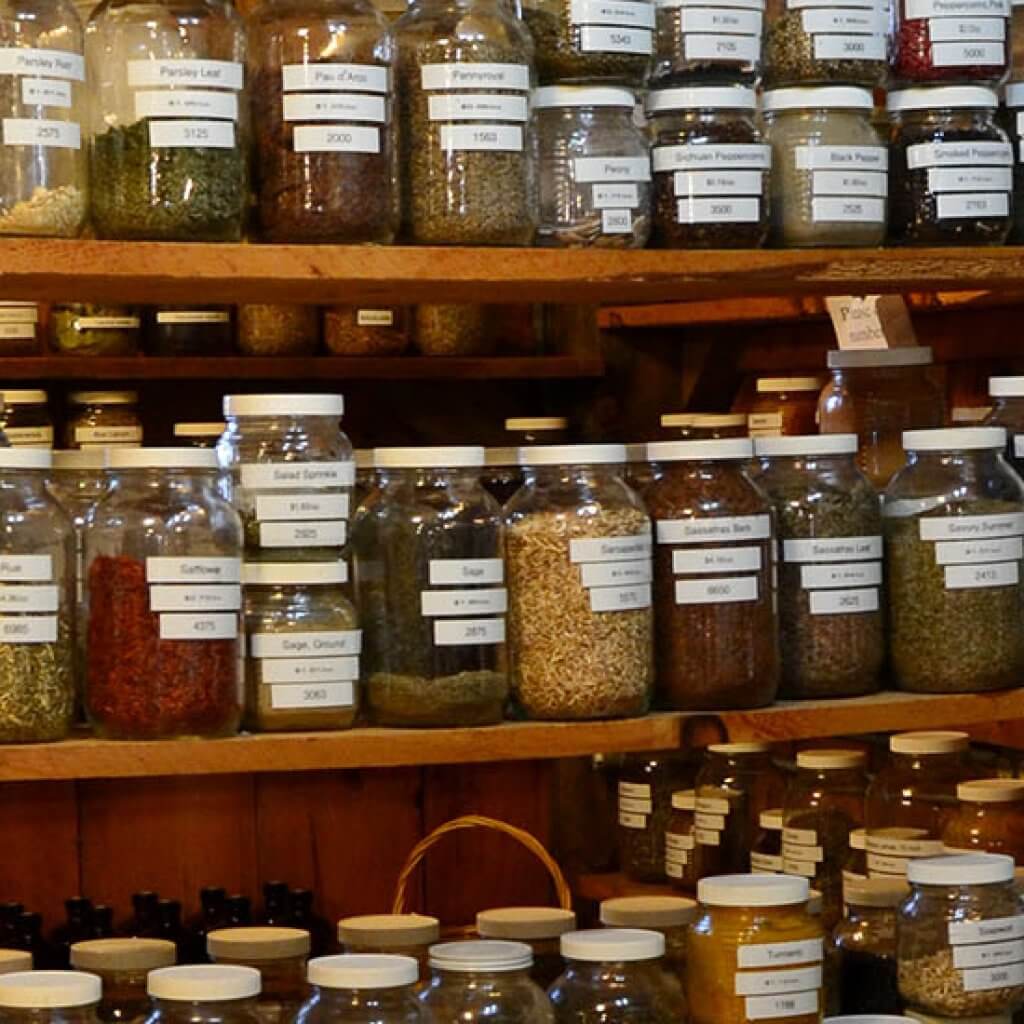
You should also be able to find the starter tea that’s used from a number of health food stores or even online.
For ingredients, what you’ll need is:
- 3 ½ quarts of water
- 1 cup of regular, granulated sugar
- 8 bags of black tea or green tea. (You can also mix the two!)
- 2 cups of starter tea (either store bought unpasteurized, neutral flavored, or from the last batch you brewed)
- 1 Scoby for each jar (again, either one you grew or got from a friend or store)
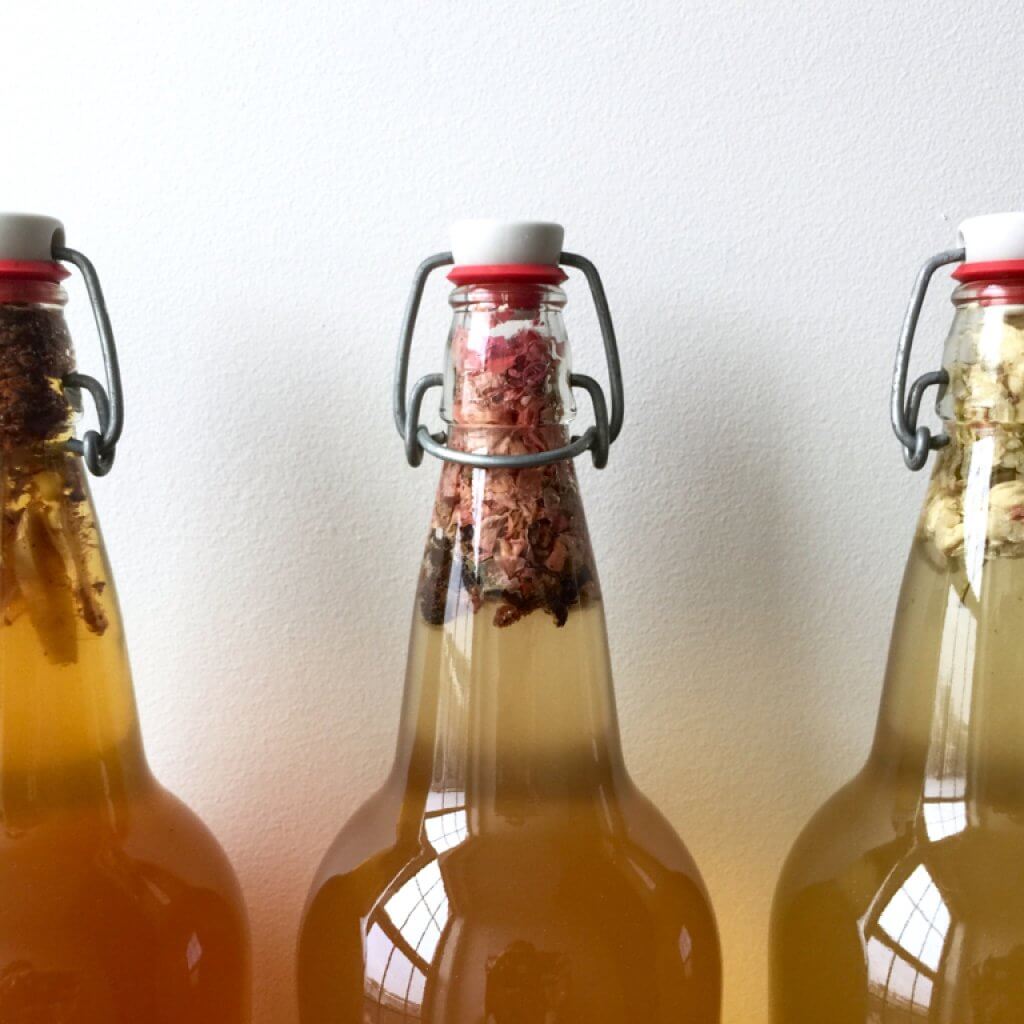
You can also add and experiment with a number of other flavors to either mix things up or just find your favorite combination.
Things you can add and try:
- Honey, (around ¼ cup is a good start)
- Chopped fruit, (a couple cups worth should do it)
- Fruit juice, (2 – 3 cups)
- Fresh herbs and spices, (a few tablespoons worth)
- Flavored teas like Earl Grey
Now, moving on to the equipment needed; it’s important to remember that you want to minimize the amount of time that the kombucha sits in any metal, as too much will weaken it.
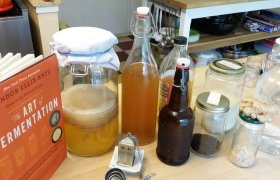
What you’ll need for equipment:
- 1 Stock pot
- 1 1- Gallon glass jar, or a couple 2-quart jars
- Tightly woven cloth, (paper towels, coffee filters, napkins, etc.)
- 6 16-ounce glass bottles with swing-top lids, plastic tops, or soda bottles
- Funnel
- Rubber band
Making the tea base:
Start by boiling the water. Then, after removing the pot from the heat, stir in the sugar until dissolved. Then, steep the bags of tea in the water until it has cooled completely. Since this can take a few hours, you can speed the process up by setting the pot in some ice.
Add starter tea to the tea base:
I told you we’d come back to the starter tea. Again, whether you’re using some from an old batch or you bought some plain kombucha from a store or online, this starter tea will make the mix more acidic, preventing any unhealthy bacteria from forming within the beginning few days of the fermentation process. Once the tea base has cooled, remove the tea bags and strain out any loose tea leaves. Then add in the starter tea and stir.
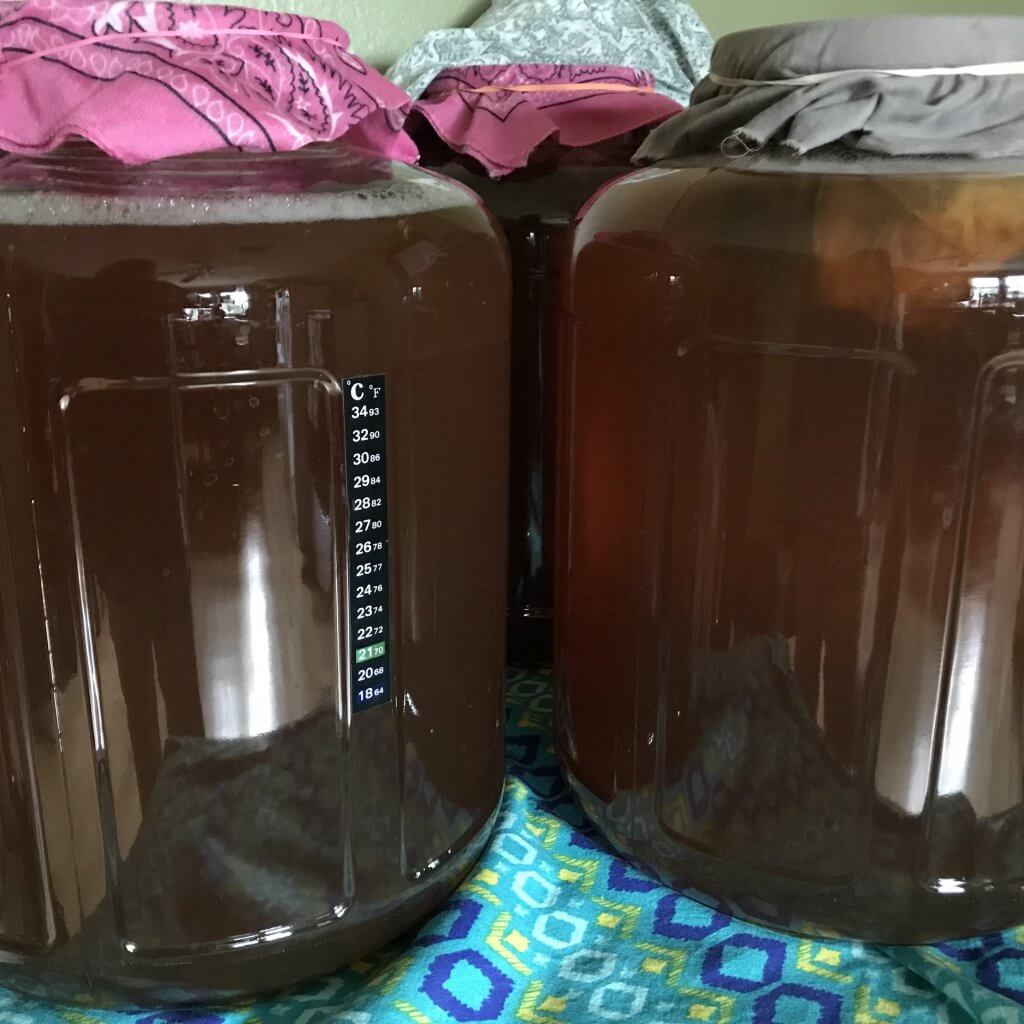
Pour into jars:
Now you’re going to transfer the mixture into the glass jar or jars that you have. If you’re using the 2 2-quart jars instead of the gallon one, just keep in mind you’ll need a Scoby for each jar. Next, with clean hands, carefully transfer your Scoby into the jar.
Then, use the rubber band to secure the tightly woven fabric over the mouth of the jar. If you see small gnats or fruit flies in your kombucha brew, you’ll need to choose a tighter woven fabric, something like a coffee filter works great.
Ferment:
Now, keep the jar stored at room temperature, or around 70 degrees Fahrenheit. You want to be sure to keep the kombucha out of direct sunlight and somewhere it isn’t likely to get bumped or shaken. Let it ferment for anywhere around 7 to 10 days and check it periodically. If you see your Scoby floating sideways, down on the bottom of the jar, or floating on top, don’t worry, all of these are normal and fine. Within a few days you’ll see a new layer forming on top of the kombucha brew.
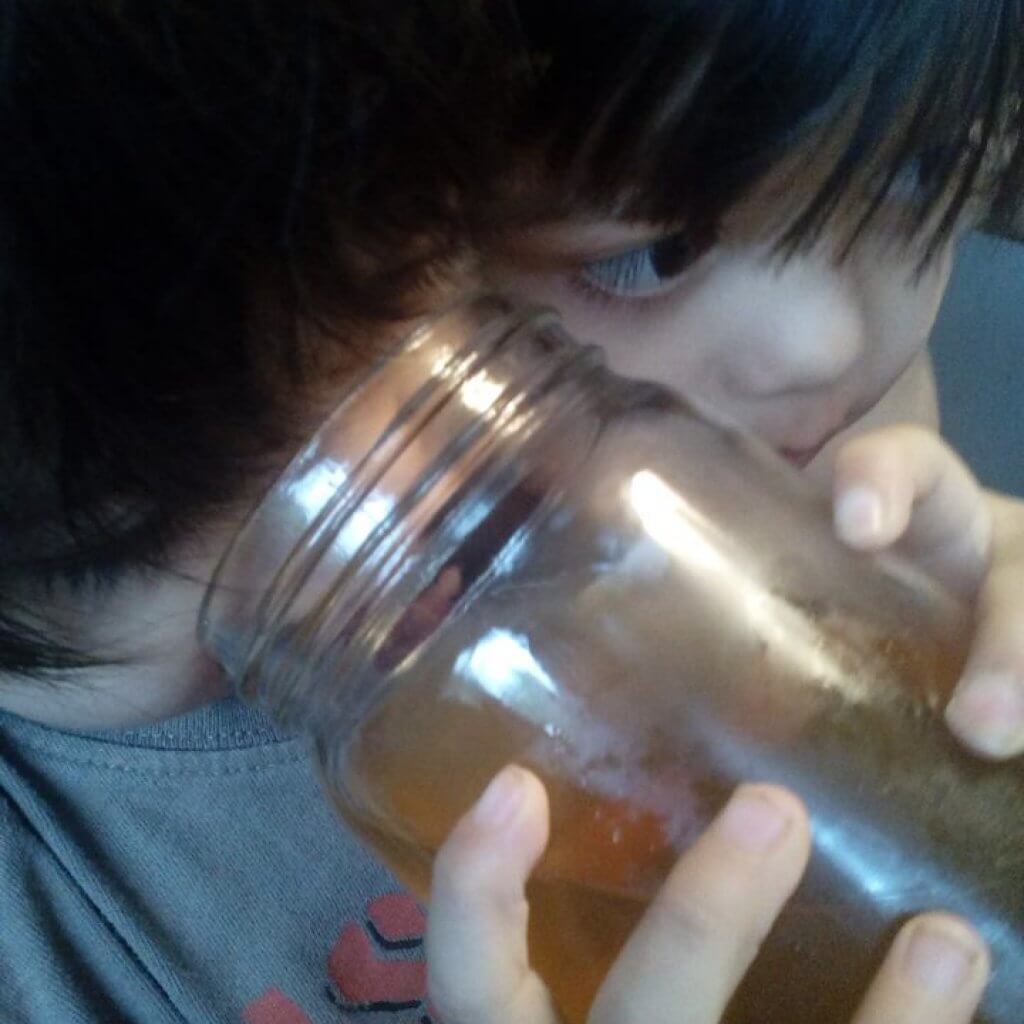
Typically, you’ll find that it bonds to the Scoby, but if not that’s okay too. It’s also not uncommon to see bubbles develop around the Scoby, brown bits (they can look stringy) floating underneath the Scoby, or sediment collecting on the bottom. All of these are signs of normal and fine fermentation. After day 7 you can begin tasting your kombucha each day. Just pour a little into a cup and taste it for a good combination of tartness and sweetness that you like. Once it gets to the flavor that you like, its ready to be bottled.
Removing the Scoby:
Before taking out the Scoby, prepare another batch of tea base if you plan on keeping a constant supply of kombucha on hand. Then, clean your hands and carefullully transfer the Scoby onto a plate. If it’s getting thick, you can use this time to remove the bottom (oldest) layer.
Bottling finished kombucha:
The first thing you want to do is measure out the 2 cups of starter tea that you’ll add to the tea base you just prepared for the next batch, so take this out and set it aside. Then, use the funnel to transfer the finished kombucha into your containers. You can now add any of the fruit, fruit juices, or other flavorings that you want. Be sure to leave around a ½ inch of space at the top of the bottles after you fill them.
Allow to carbonate:
You’ll want to put the bottles of kombucha somewhere out of direct sunlight and in an area that will stay at room temperature for 1 – 3 days. This will allow the kombucha to carbonate. If you’re new to brewing kombucha, you may want to use plastic bottles. That way, once they get hard you’ll know that your kombucha is carbonated. Then, place the bottles in the refrigerator, this will stop both any further carbonation and fermentation. After that, you’re all done. Just be sure to drink it within a month.
Now, you still have that Scoby sitting there. Luckily, you’ve already prepared the starter tea and the tea base. Just mix up like previously covered, and then slide your Scoby on top. By keeping this system, you’ll be able to constantly have some fresh kombucha on hand and ready to go!