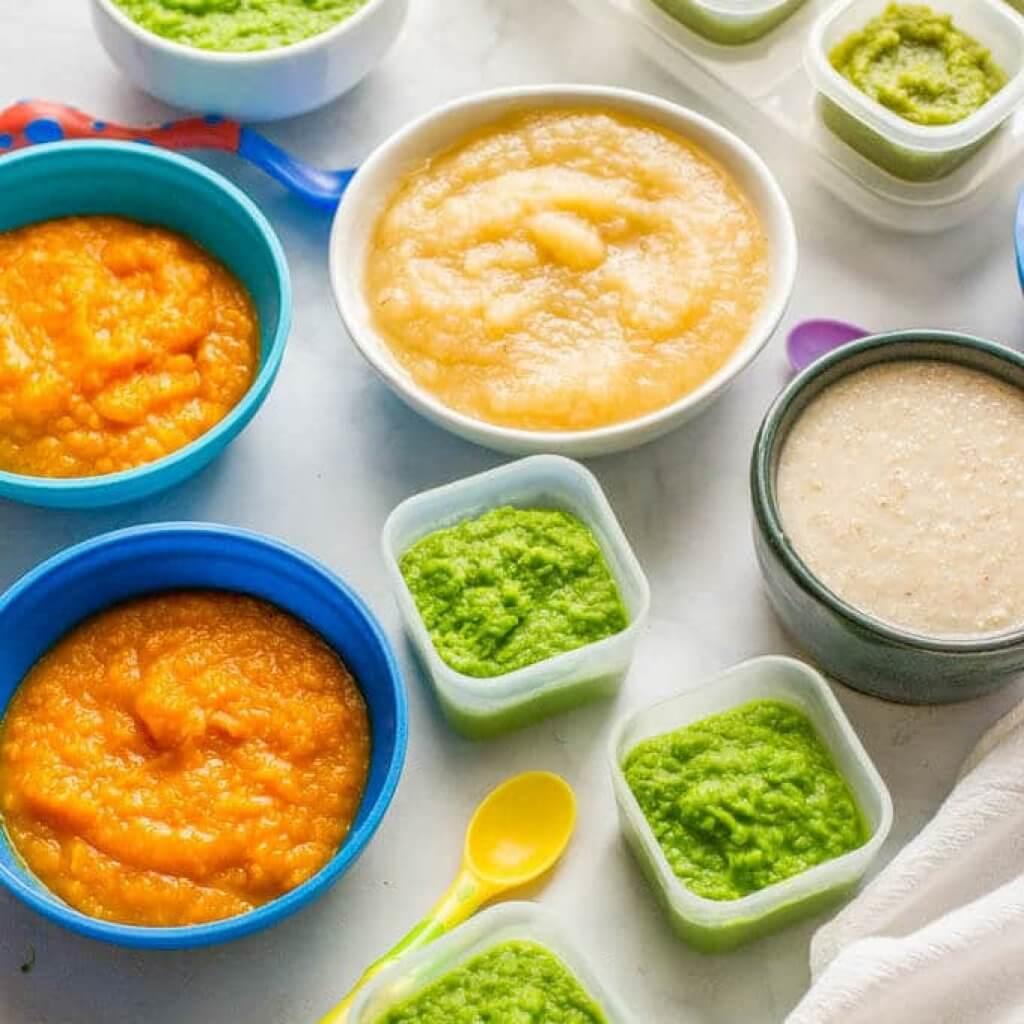
Making Baby Food At Home: The Basics

Introducing babies to baby food is such an exciting time as it means that they are reaching new milestones and beginning new adventures. However, as exciting as this time is, it can also be stressful. As a parent, you want your baby to have a great overall experience with baby food and that means selecting the best baby food there is. But what do you do when there’s no baby food manufacturers on the market to meet your standards? You make your own.
Making your own baby food not only beneficial to your baby, but is also inexpensive and very easy to prepare, along as you have the adequate supplies.
Baby Food Making Equipment
Having the correct tools and gadgets to make baby food is very important, especially if your baby is in the the beginning stages of baby food. Stage 1 baby foods should have an almost water-like resemblance as opposed to having more texture like Stage 2 foods and chunks of food like in Stage 3 foods. To make baby food the correct way, you don’t have to purchase a large amount of expensive equipment. Everything that you need may be located on your kitchen.
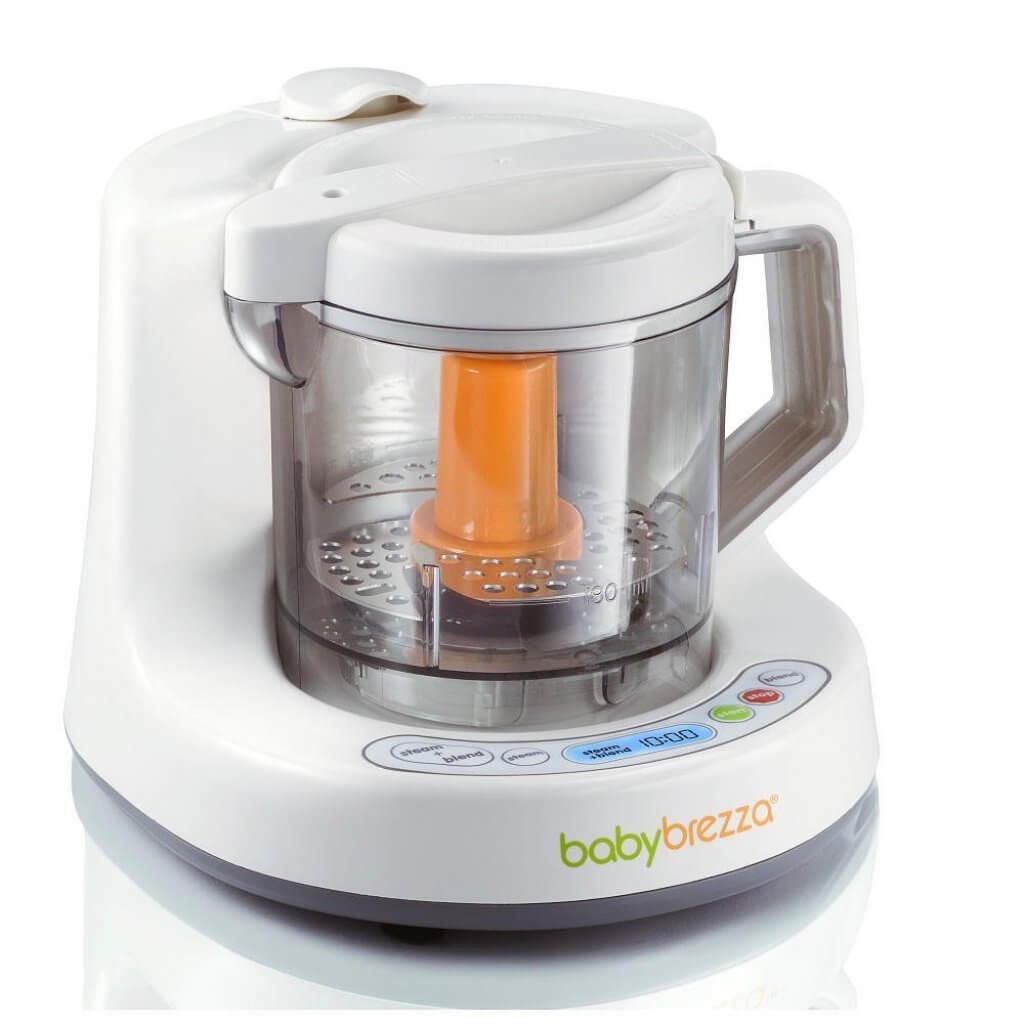
Food processor or blender:
This is one of the most important baby food making tools as it’s great for pureeing foods to the correct consistency.
Masher: Having a masher can be very helpful for when your child enters Stage 3 of baby foods and can tolerate more texture in contrast to puréed food.
Peeler:
A peeler (e.g. apple peeler, potato peeler) will speed things up in the kitchen as you prepare your baby’s food to be mashed or to going to the food processor, or both. Removing the peel from produce is very important as it prevents your child from swallowing large, hard chunks of food. In addition your baby will be a lot less likely to ingest any pesticide residue if the produce isn’t organic.
Baby food grinder. This is great for getting out chunks of food that your blender may miss when making baby food.
Steamer:
This tool and step is often missed while making baby food. It’s important to steam all hard produce such as apples and broccoli to soften the baby food. Moreover, you’ll extend the life of your kitchen tools by putting soft foods in them, rather than hard foods.
A knife and a fork:
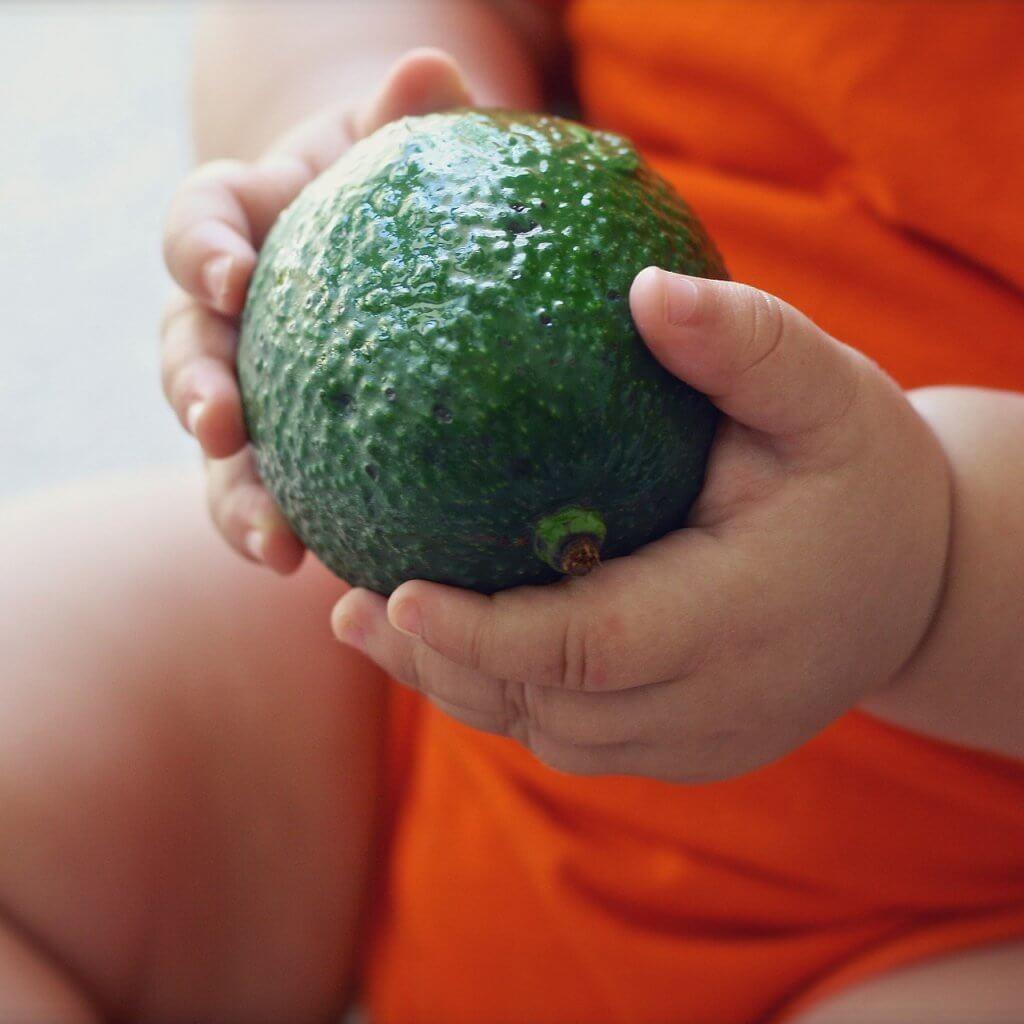
These everyday items are essential when it comes to making baby food as they can be used to cut, peel and mash produce. When your baby is able to eat Stage 3 foods, you could give them something as simple as a banana or avocado that has been mashed with a food, as this stage allows for more chunks and textures. Additionally, it’s important to dice fresh produce before putting it into your food processor, mashing it or grinding it.
Choosing What Type of Baby Food to Make
When it comes to making homemade baby food, there’s three important factors to consider: proper tools, what type of food to make and the age appropriateness of it. Now that you know what tools are required to make baby food, let’s take a look of what kind of food to make and the proper age to. One of the best benefits of making baby food is that you’re solely in charge of what your baby eats. It’s best to choose fresh organic fruits and veggies, and if your baby can eat meats, it’s important that the meat comes from a grass fed animal.
Choosing organic produce and grass fed meats for baby food provides numerous benefits:
reduces exposure to pesticides and fertilizers
studies show that organic produce has a higher nutrient value in contrast to non-organic produce
grass fed meat is less likely to have been injected with hormones and antibiotics
organic produce is usually locally raised, meaning that if you purchase it you are helping out your community and local farmers
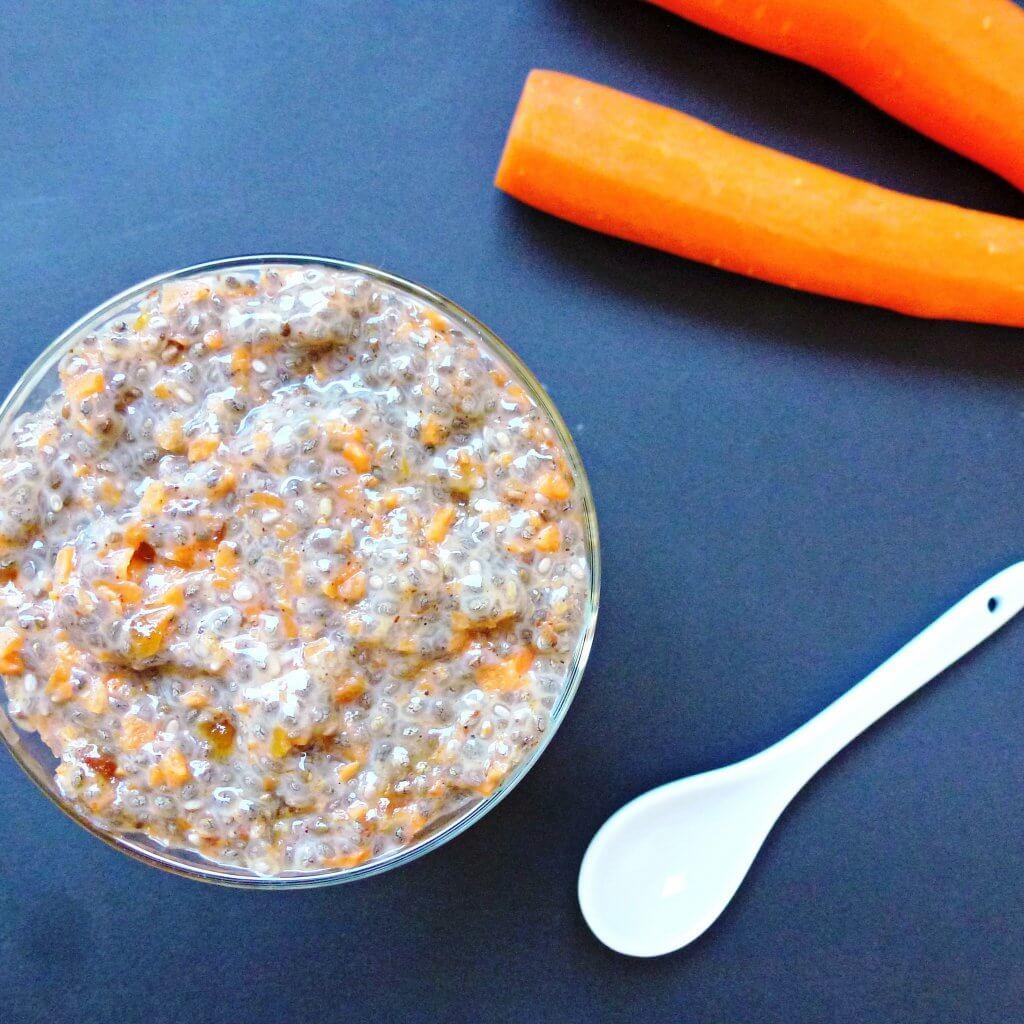
Age Appropriate Foods
 Stage 1 is solely for puréed foods, from about 4 to 6 months. Mixing the food with breast milk or formula is a great way to introduce your baby to food. When your baby graduates to Stage 2, the food can have a thicker consistency, from about 8 to 10 months. At the age, the majority of babies don’t have many teeth, so it’s very important that the foods are very soft and chopped up into fine pieces. Stage 3 baby food starts from about 10 months, and your baby may start having soft chunks of food, like a banana and soft carrot slices for example.
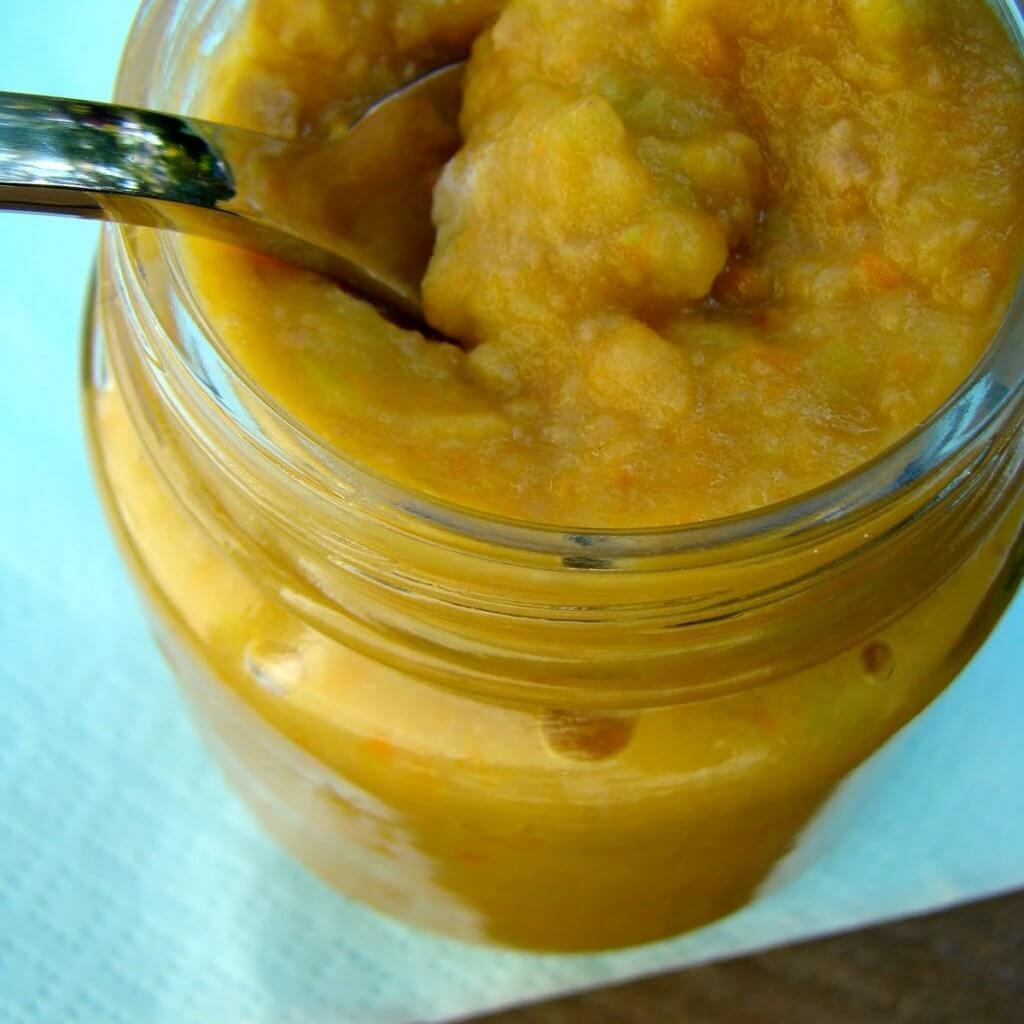
Making Baby Food
 Making baby food can be done in 4 simple steps:
Step 1: Wash the produce. Washing your baby’s food before you cook it is very important, even if you’ll be peeling the before you cook it. When food is cut or peeled, bacteria from the outside can travel inside. Always wash food before cooking or.
Step 2: Chop and cook the produce. You can achieve this step by steaming or baking the produce. Cooking the produce plays a huge roll in the outcome of your homemade baby food.
Step 3: After the produce is cooked, mash it with your masher and/or put it in your blender to purée it, depending on what food stage your baby is in.
Step 4: To thin your baby food out, for a smoother consistency, add breastmilk or formula into the blender. The amount of breastmilk or formula, that you mix into the baby food will depend on how thick or thin you want the texture to be.
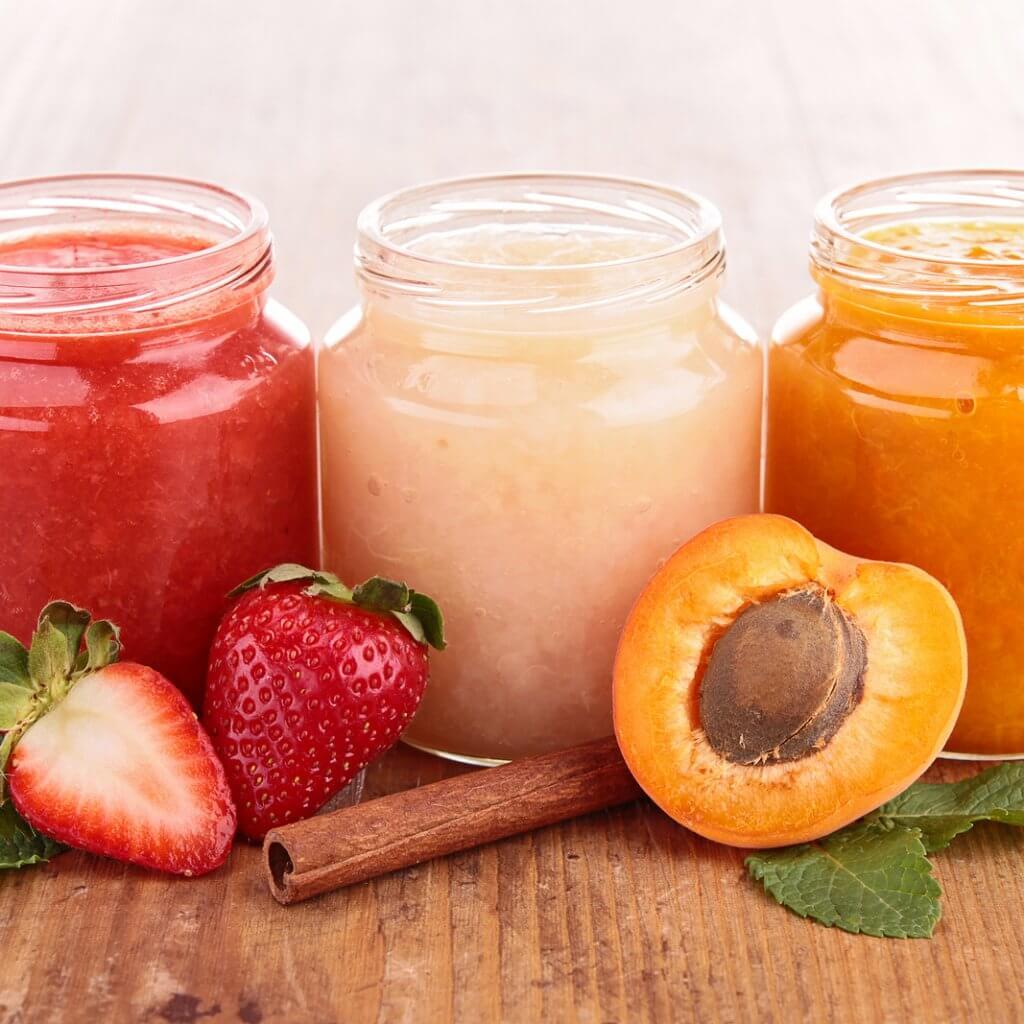
Storing Baby Food
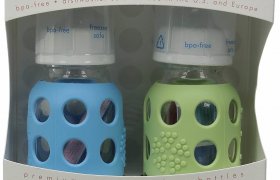
Storing baby food is great whenever you have leftover food and don’t want to waste it, or if you decide to make multiple meals at once. You can store baby food in the refrigerator or the freezer. When storing foods, it’s best to use glass jars, BPA-free plastic containers or ice trays.
Homemade, puréed baby food shouldn’t be stored in the refrigerator for more than 48 hours or 2 days, at the maximum. This window of time ensures that the food will still taste fresh and isn’t susceptible to bacteria growth.
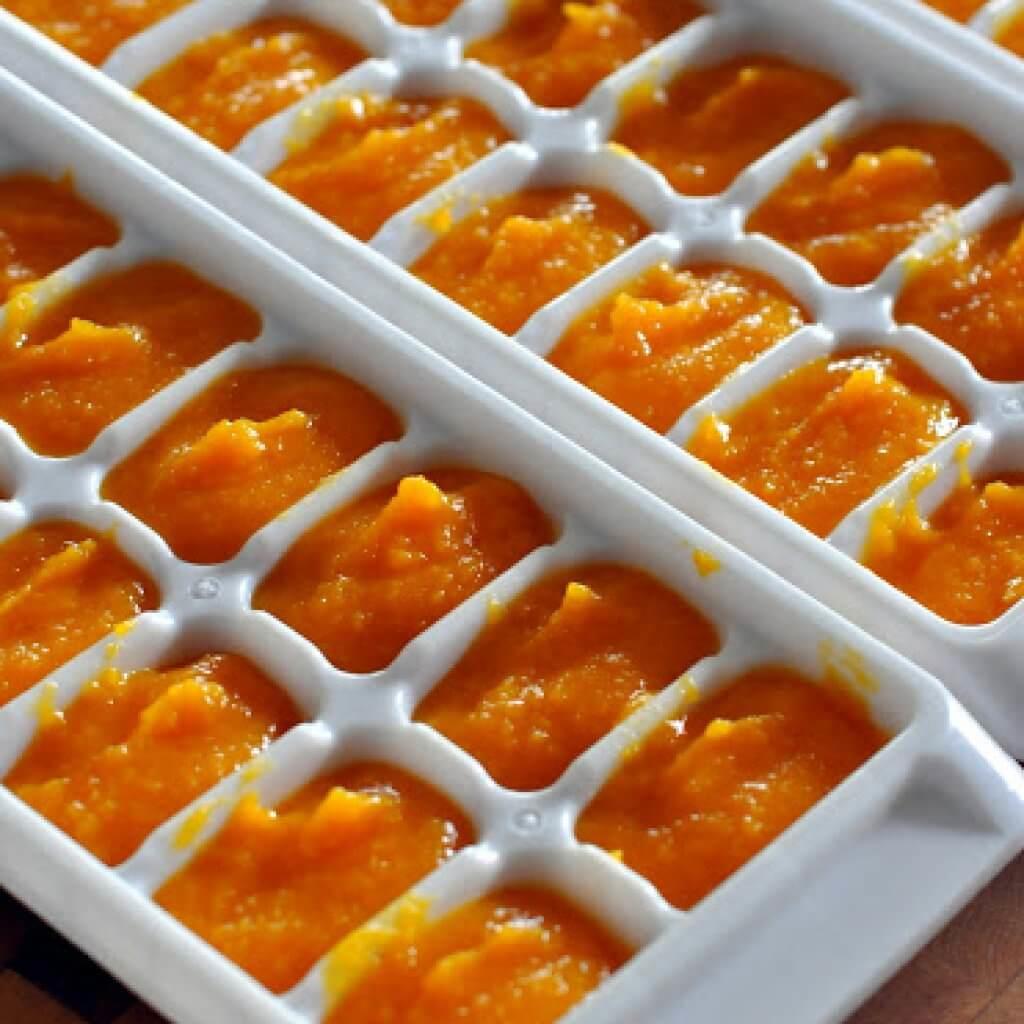
If you decide to freeze your baby’s homemade baby food, it’s best to store it for no longer than 3 months. This ensures good quality as well as nutrient retention. Instead of freezing homemade baby food in jars, it’s best to freeze them in an ice tray. To freeze baby food in an ice tray, take the following steps:
Scoop an adequate amount of the purée up and empty it into an ice tray until all the cubes are filled.
Cover the ice tray with plastic wrap and allow it to freeze.
After food has frozen, remove the tray from the freezer and place the cubes into plastic freezer bags.
Making homemade baby food is almost effortless. As long as you have the proper kitchen tools, healthy produce and safe storage containers, you can make homemade baby food. The health and safety of babies isn’t to be taken lightly and as a parent you want what is best for them. With that being said, always consult your baby’s pediatrician when introducing new foods. You will receive instant satisfaction in knowing that you prepared healthy, safe food for your baby.