How to Make DIY Air Dry Clay (& Fun Clay Ideas for Your Kids!)
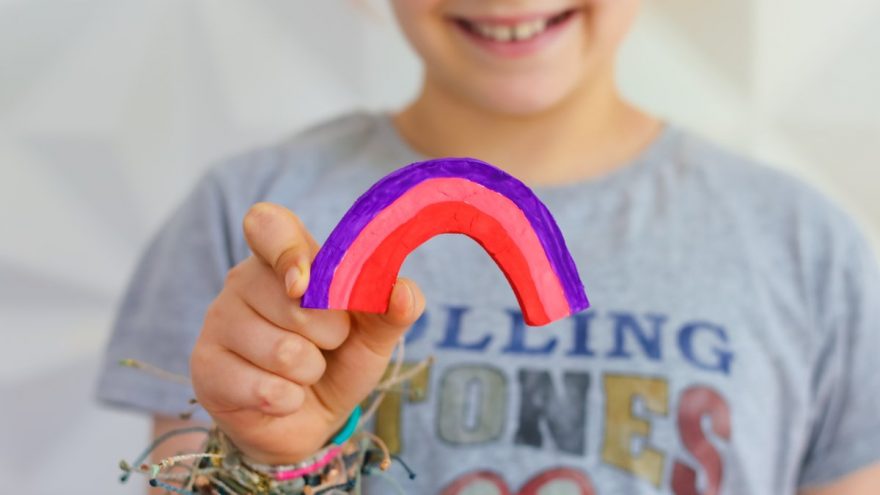
Looking for more fun activities you can do with your kids at home? We totally understand! Whether your kids are remote learning, you are homeschooling, or even if you’re just looking for a fun weekend activity, we are all spending more time at home. That doesn’t mean that there aren’t tons of things to do to keep entertained! One fun activity you might not have thought of before is DIY air dry clay. This is a super easy and super fun activity that is a perfect way to spend an afternoon with your kids. So what exactly is air dry clay, how to make clay, and what can you do with it? We’ve got all those answers and more!
What is Air Dry Clay?
Air dry clay, as the name suggests, differs from typical clay in that it air drys instead of needing to be fired in a kiln (or oven) at a high temperature. This makes it a really great option when working with kids, as it is easier to handle and doesn’t require any heat for it to dry. Once dried, you can paint it like you would normal clay. The one thing to keep in mind with air dry clay is that it is not waterproof, so we wouldn’t recommend placing any finished clay pieces outside. However, it is great for indoor use!
It is a great option if you are looking for creative activities to do with your children. They can choose what they want to create with their clay, and after it has dried, they can also decide how to decorate it! We’ll cover more fun clay ideas below.
Best DIY Air Dry Clay Recipe
While you can purchase air dry clay kits, you’ll be happy to know that you can also easily make your own! We love how easy it is to make it, and best of all, it only takes 3 ingredients that you likely already have sitting in your pantry.
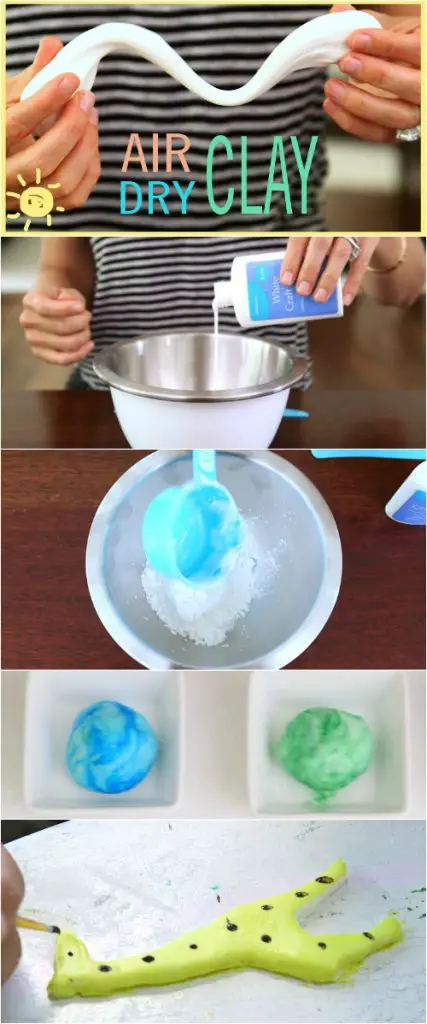
There are a few different ways that you can make air dry clay at home. Our preferred method is with baking soda and cornstarch, especially since these are simple, safe ingredients that you can feel comfortable using with your children. It also air dries to a nice even color that is really nice to decorate with paint or markers (or really anything you like!)
We also love that this is an easy and safe activity that you can do with your children. Get them involved with making the clay, not just playing with it afterward! This will also help them learn to follow directions and can teach them about measuring out ingredients and about science in general. Who would have thought that 3 easy ingredients could make clay?
Here’s our top pick for the best DIY air dry clay recipe:
Ingredients:
- 1 cup cornstarch
- 2 cups baking soda
- 1 and ¼ cups water
Steps:
✓ Measure out your 3 ingredients and add them to a pot. Your kids can definitely help with this step.
✓ Once added, place the pot on the stove and turn on to medium heat.
✓ Grab a spatula and stir the mixture constantly as it heats up. While your kids can help with this, make sure you are supervising since you are dealing with heat! Since you need to stir constantly, we also recommend that everyone takes turns stirring so that no one’s arm gets too tired!
✓ As the clay heats the mixture will begin to thicken (so cool, your kids will love seeing the mixture transform!). Keep stirring and keep the heat on until the mixture appears like mashed potatoes in terms of consistency. Once it has reached this point, remove it from the heat. Make sure that all of the water has been mixed into the clay and that it is a cohesive dough-like consistency.
✓ Leave the dough in the pot to cool down for a few minutes and then transfer it onto a countertop and wrap it in a damp cloth. We recommend you do this step in case the clay is still hot so that your kids don’t get burned. However, by letting the clay sit off of the heat for a few minutes it should cool down enough so that it is easy to handle.
✓ After 15-20 minutes of sitting in the damp cloth, unwrap it and using a rolling pin (if you have one, you can always improvise with a wine bottle or other similar item) to knead the dough. This will help make the clay have a nice smooth consistency, perfect for modeling.
✓ That’s it! Now you can start creating! We recommend taking small pieces from the larger piece and creating objects that way. Make sure the clay that isn’t being used stays wrapped in a damp cloth to help prevent it from drying out.
✓Once you are finished, stick to the air dry name and let the clay dry slowly. Using heat will speed up the process, but will also increase the chance of cracking! Instead, teach your kids a lesson in patience and let their clay creations dry slowly. Once fully dried, then you can decorate!
Fun DIY Clay Ideas for Your Kids
Now that you’ve created your air dry clay, what can you make with it? There are tons of fun clay ideas to consider! We have rounded up some ideas below to give you inspiration, but we also recommend giving your kids some clay and letting their imagination and creativity run wild! Let them have some free space to create whatever comes to mind.
For when you do need some ideas, here are our top picks:
1. Handprint ornament
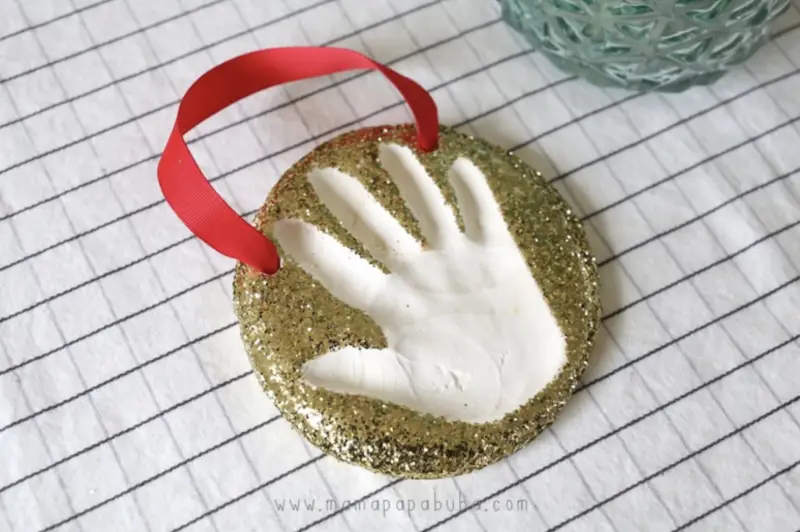
The handprint is a classic art activity, and you can do it with clay as well! Roll out a small piece of clay that is large enough to cover your child’s hand. Then, let them press their hand into it enough to make a good impression. Let it dry, and then decorate however you want! You can use this as an ornament or simply as a piece of artwork to display at your house.
2. The caterpillar
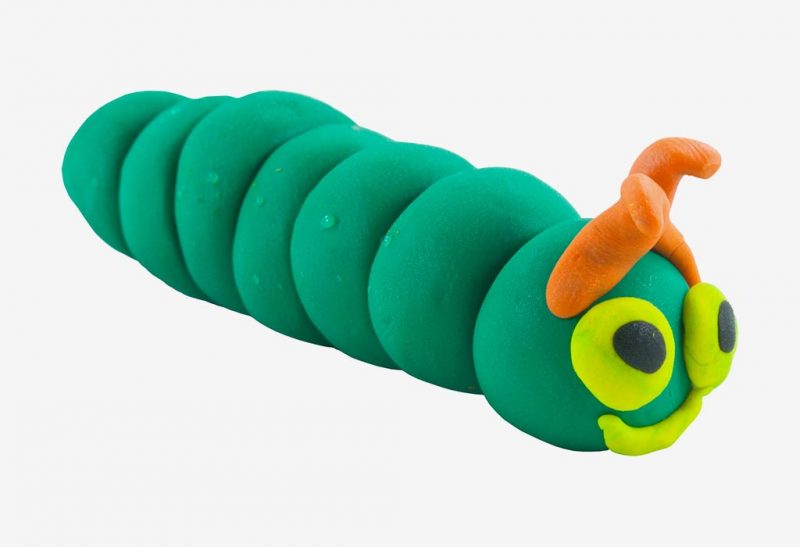
This is an easy and fun clay activity! Flattened spheres make the body of the caterpillar with a ball at the end for the head. Let it dry and then paint it green. You can also use more clay to make eyes and antennae, or you can always get creative and use things like pipe cleaners or googly eyes!
3. Stamped bowls
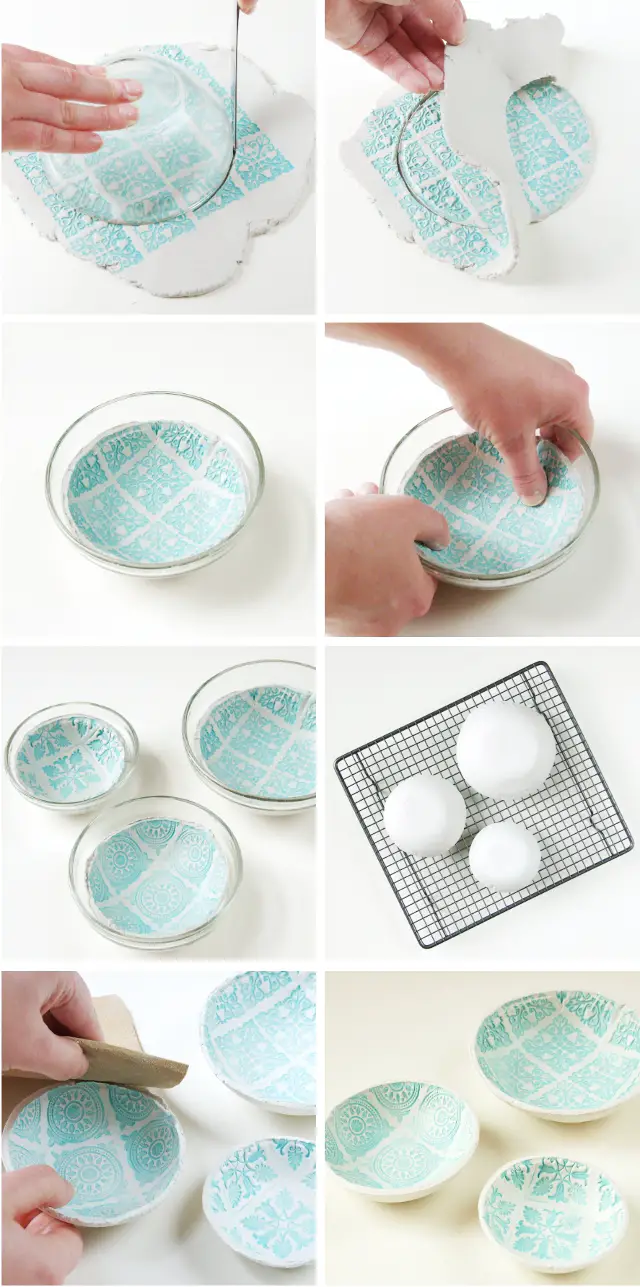
You might not immediately think to use stamps with clay, but they make for great tools to create fun designs! Start with a flat section of clay that you stamp with as many stamps as you want. Next, use a bowl to help you form the shape of your bowl and then let it dry! This is an easy and fun activity for you and your kids. Keep your finished bowls, or give them away as presents to friends, family, coworkers, or teachers!
4. Dinosaur Fossils
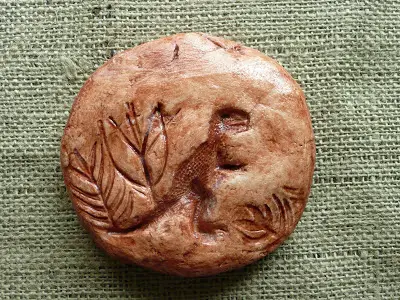
Why not use all those little toy dinosaurs you have laying around as the perfect tool to make a fun impression in your clay! You can also use things like leaves as well to make a variety of fun ‘fossils.’ Send your kids on a scavenger hunt in the backyard to find the perfect leaves and see what they find!
5. Alphabet Magnets
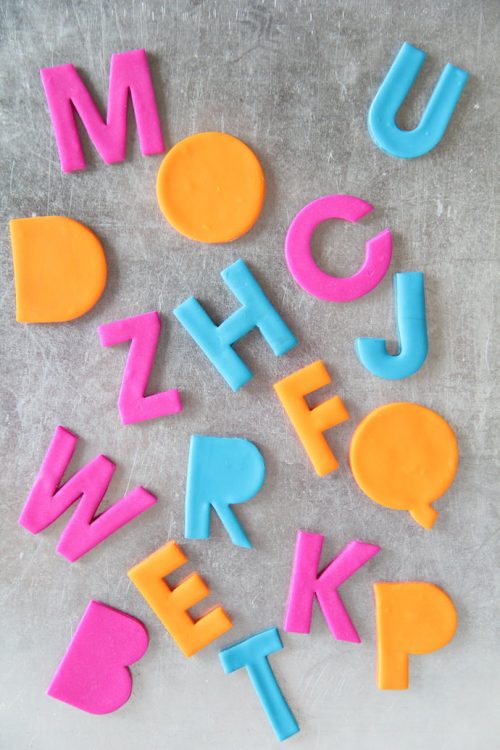
Sure you can easily buy some alphabet magnets from the store, but why not create your own out of clay? This is a perfect clay activity that is a mix of practical/educational skills and creativity. This is a great option for any child that is learning the alphabet, as they will have to really know what each letter looks like in order to mold it out of clay!
Once they are finished and have dried you can then get more creative with how you want to paint or decorate them. You can keep this educational – say by painting consonants one color and vowels another, or you can just let them decorate them as they wish!
Finally, to add the magnets (which is optional, but a great way to make these letters even more practical) all you need to do is put a small dot of glue and then attach a small magnet to the back. Make sure they dry completely before using them.
Wrapping Up
Air dry clay is such a fun DIY activity that can be used for learning, expressing creativity, and so much more! From the creation of the clay, to molding it into various shapes and objects, to decorating it, there is so much potential with a craft like this. Best of all, this is all DIY and you likely already have all of the ingredients sitting at home. If not, you can easily get them from any grocery store. What’s not to love?
What excites you the most about air dry clay? Is it the clay creation, the modeling of the clay, or do you get excited to paint the finished creations? Let us know! Either way, your kids are sure to love the entire process and will have some super cool new objects to display in their room!
Sources:
mamapapabubba.com
parenting.firstcry.com
gatheringbeauty.com
thatartistwoman.org
handmadecharlotte.com


