Healthy Family : Growing a Kombucha Scoby

Maybe you’ve been hearing the many health benefits of kombucha. Or, maybe you have had it and are looking to cut out the middle-man by brewing your own. Either way, you’re ready to dive into the world of home-brewing your own fizzy kombucha from sweet tea. Before you begin though, there’s a few things to learn in order to cut out much of the trial-and-error involved in making a batch of kombucha at home. One of the first steps is going to be creating your own Scoby.
Believed to have originated around 2,000 years ago somewhere in the Far East, kombucha addresses numerous health issues where they begin; in your gut. In order to make kombucha, a fermentation process is used. Because of this, it allows the growth of (healthy) bacteria known as probiotics.
Probiotics act to support the immune system by lining your digestive tract. They fight infection and illnesses through the absorption of nutrients. This drink, made from black, oolong or green teas and sugar (whether from cane sugar, honey, or fruits), contains a bacteria colony and yeast that initiate the fermentation process once they are combined with the sugars; this colony is called the Scoby.
The Scoby is actually an acronym for Symbiotic Colony of Bacteria and Yeast. This ugly, rubbery mass forms on the top of the kombucha and helps to seal it from any unwanted bacteria’s and air as it ferments. Once the drink is fermented, it becomes carbonated and possesses B vitamins, probiotics, vinegar, and high concentrations of gluconic, lactic, and acetic acids; all the things that make it a wonderful health drink.
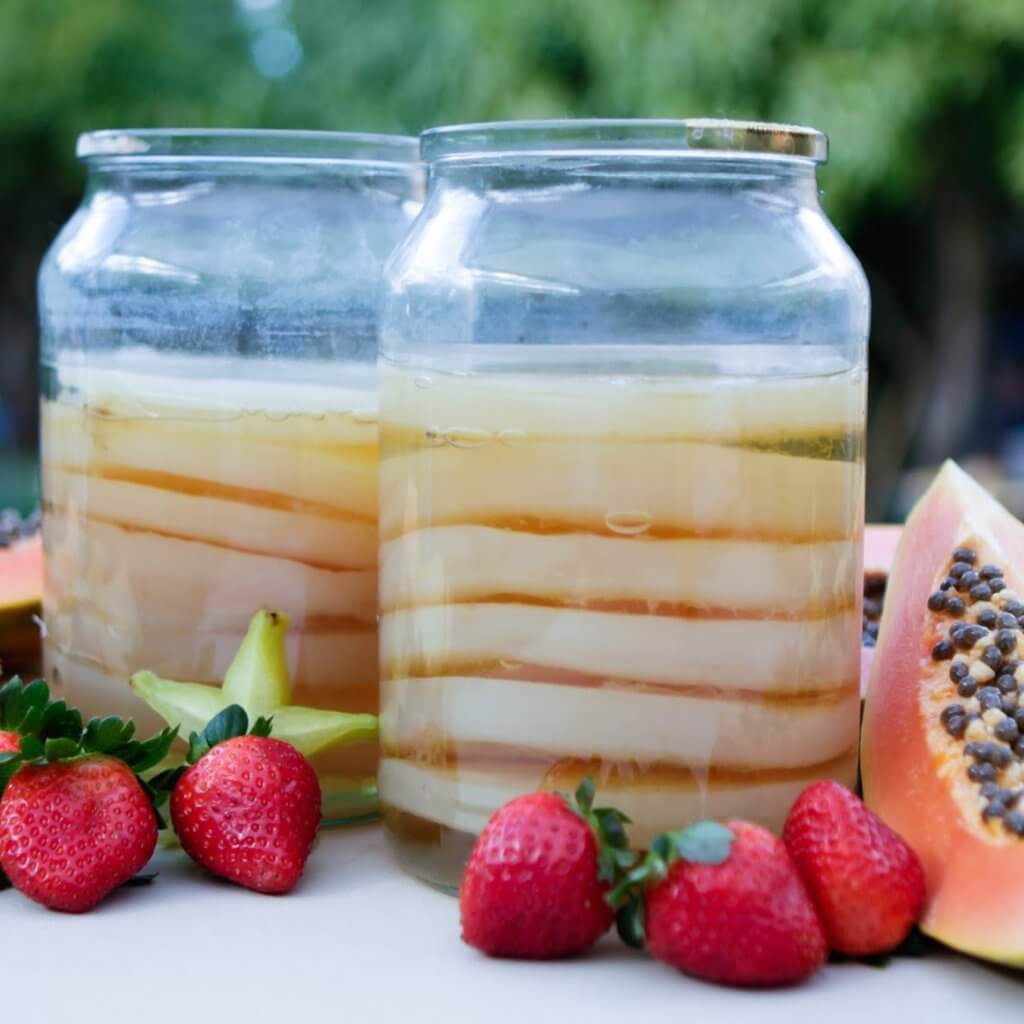
Naturally forming during the brewing process, the Scoby constantly regenerates itself by adding another layer on top of the old each time you make a brew. If you’ve purchased a bottle of kombucha, you may have noticed a small blob inside, that’s a new Scoby growing. But you can make your own Scoby at home that can be used for many batches of brew, (some people claim to have Scoby’s that are generations old!) Our oldest scoby is about 3 years old and keeps on growing!
It takes around 2 – 4 weeks in order to grow a Scoby from scratch. The temperature of your kitchen can affect that though, if it’s warmer it may grow faster, and if it’s colder it may take longer. The target temperature you’re looking for is around 70 degrees Fahrenheit. At this temperature, you should have your Scoby formed in about 2 weeks. First, lets look at the things that you will need for making your own Scoby:
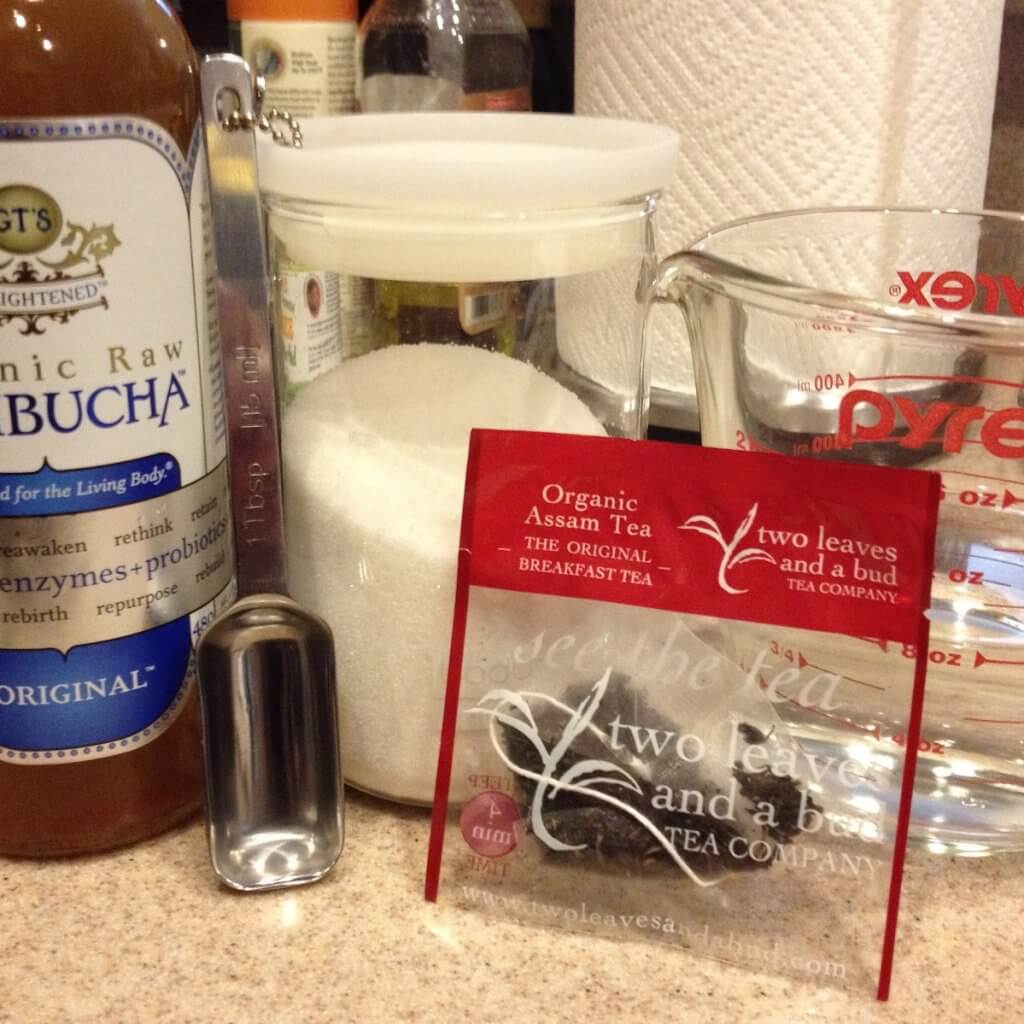
Ingredients needed:
- 7 cups of water
- ½ cup of white granulated sugar
- 4 black tea bags
- 1 cup of unpasteurized, unflavored store-bought kombucha (GTs Kombucha is Great)
For kitchen equipment, you’ll need:
- A 2 quart or bigger saucepan
- Long spoon
- 2 quart or bigger glass jar – a canning jar works great (just not plastic or metal)
- Cloth that’s tightly woven – tea towels, paper towels, napkins – used to cover the jar
- Rubber band
Step 1: Making the (Sweet) Tea
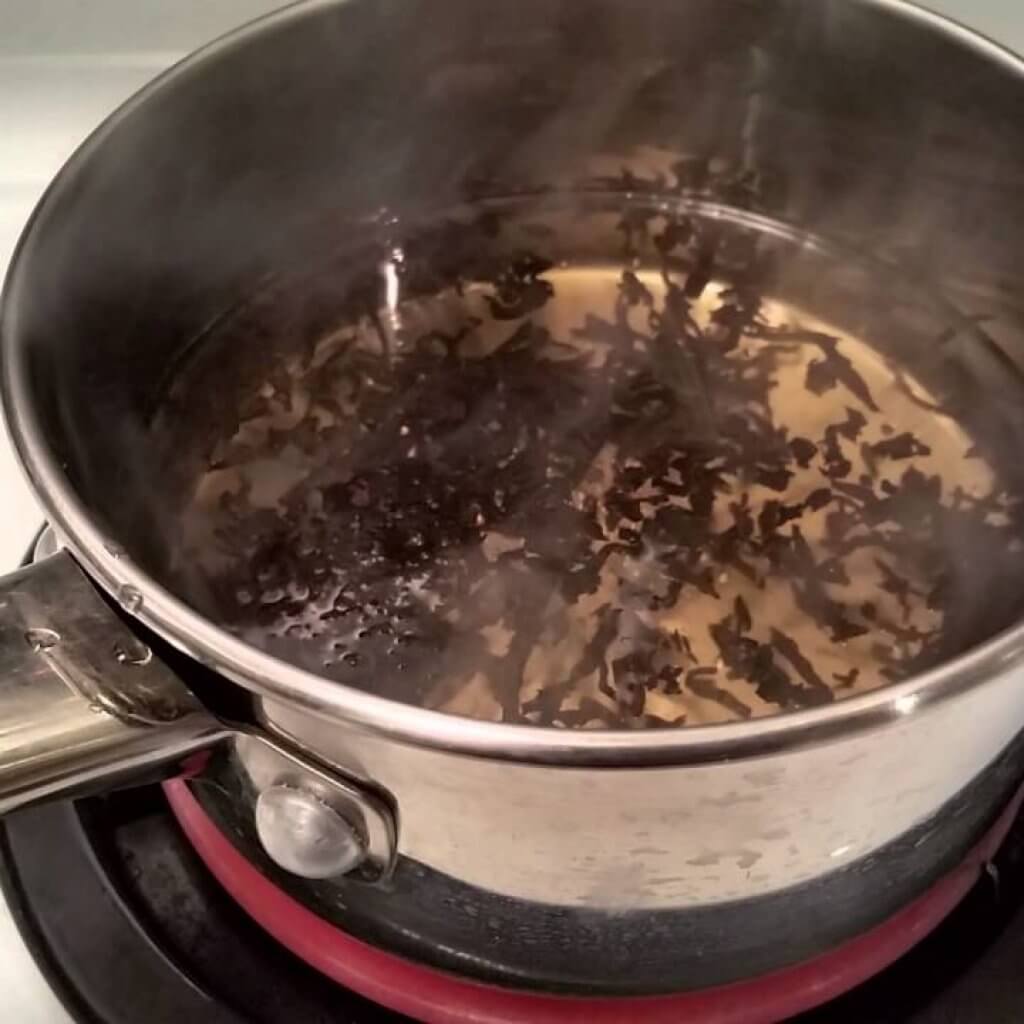
Heat the water and bring it to a boil. Next, remove it from the heat and add the sugar. Then stir until you see the sugar has completely dissolved. Put the tea bags into the water and allow them to steep until it has cooled to room temperature. If you’re in a hurry, you can simply boil half of the water, add the sugar, stir until dissolved, add and steep the tea, and then use the remaining half of the water to cool the mixture, which is the method we personally use at home and find it works better (less chance of contamination while cooling down.)
Step 2: Combine Kombucha and Tea into a Jar
Next, pour the tea into your jar. Add the kombucha on top of the tea. If there is already a little blob in your purchased kombucha, make sure to add it to the jar as well, but if there isn’t one, no need to worry, you’ll still grow your own. Next, stir the two together.
Step 3: Cover and Let Sit for 1 – 4 Weeks
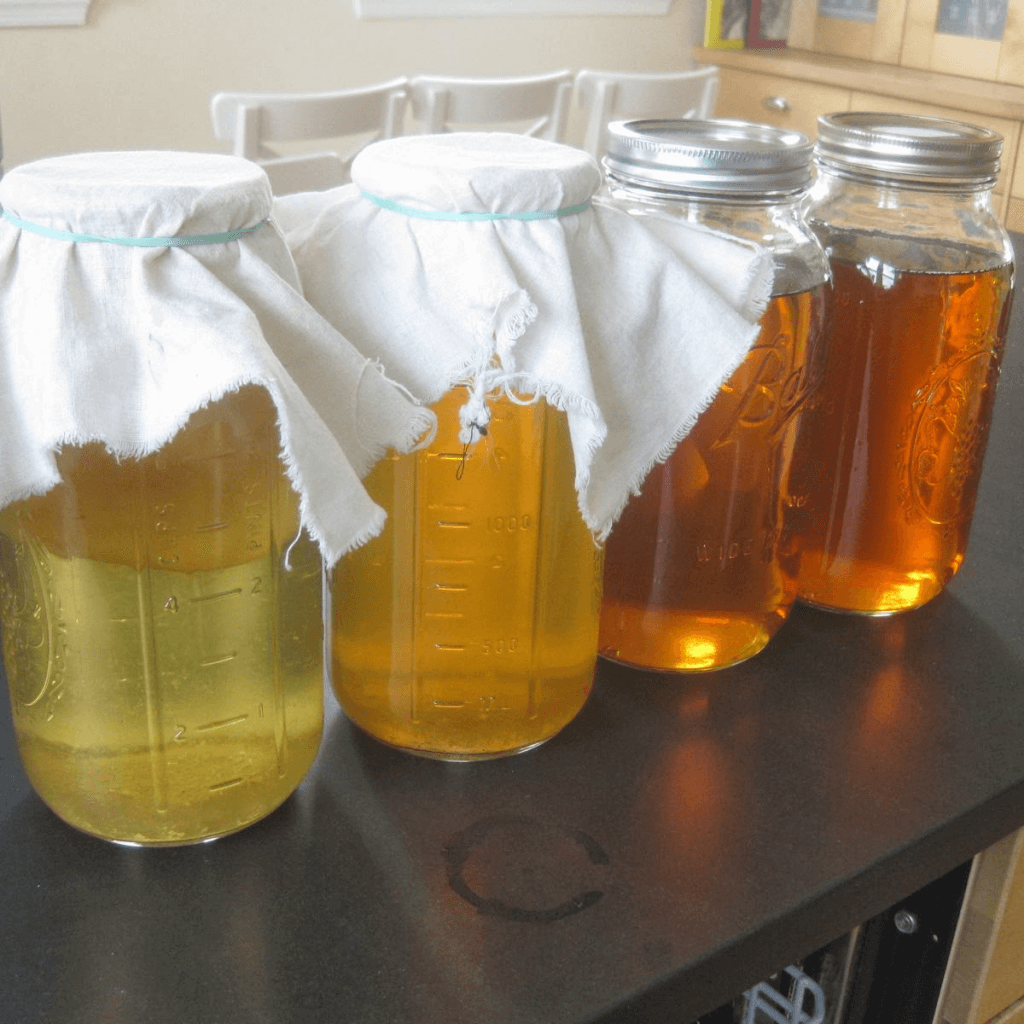
You want to completely cover the top of the jar with your tightly woven fabric, whether you use paper towels, fabric, or even coffee filters. Secure them with a rubber band. If you start seeing fruit flies or other small bugs, use a tighter woven fabric over the top of the jar.
Next, place the jar somewhere where it will be at the average room temperature, or around 70 degrees. You want to ensure that you keep it out of direct sunlight and that it is in a place where it won’t need to be moved or accidently get bumped. Too much sunlight can keep the kombucha from properly fermenting and the Scoby won’t form. So, if there’s no way to keep it out of the sun, simply wrap the jar in a dark fabric.
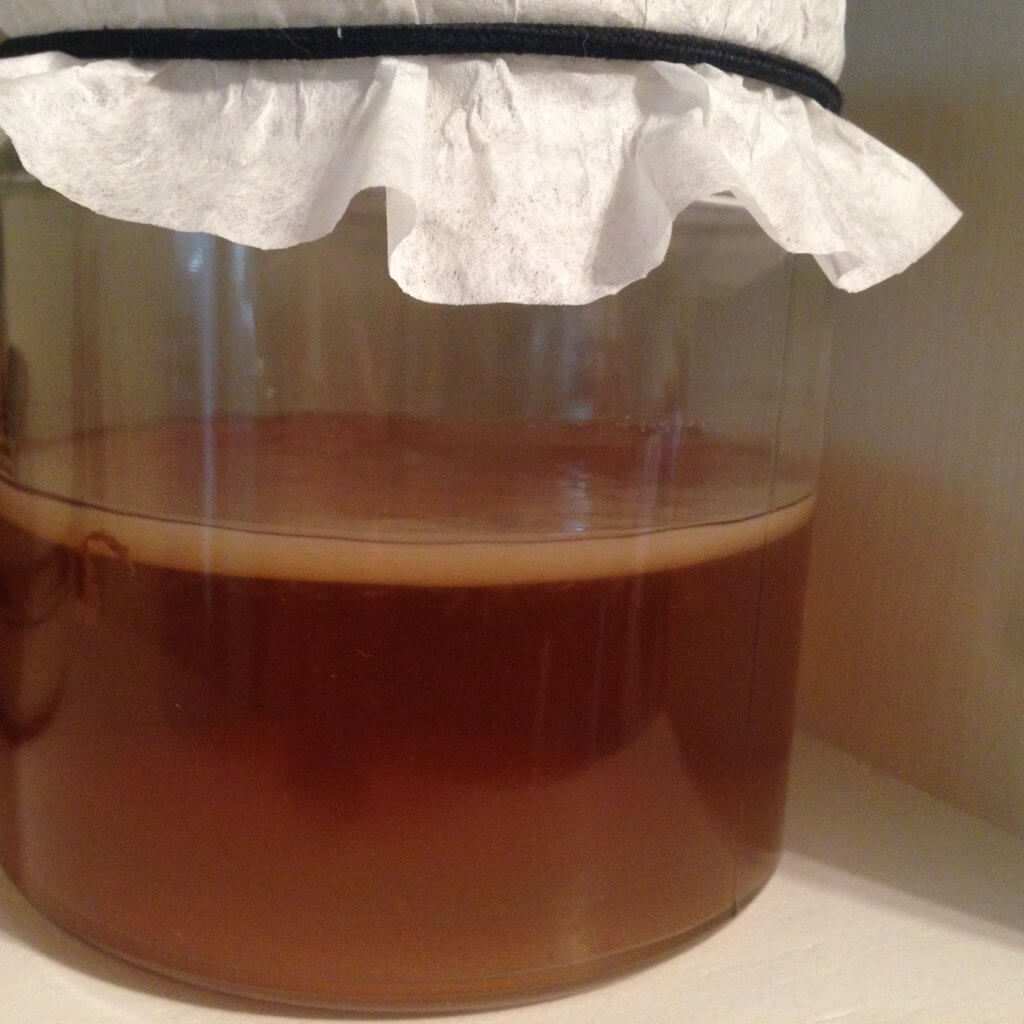
Don’t expect much to happen in the first few days of brewing. After a few days however, you’ll begin to see the formation of tiny bubbles on the surface of the brew. A few days after that, the individual groups of bubbles will start to gather and create a thin, jelly-looking transparent film on the surface of the mix.
You’re looking for bubbles developing on the edge of the film, this is the carbon dioxide created during the fermentation and is a sure sign that things are coming along nicely.
Now, after a few more days you’ll begin to see the layer of film get thicker and darken into a more opaque transparency. After it has grown to a thickness of about ¼ inch, it’s done and is ready to be used for making kombucha tea.
Again, there’s no definitive amount of time this can take, so don’t be surprised if it ranges anywhere from 1 to 4 weeks to complete the process. If you’re worried because your Scoby looks rough and patchy, that’s okay. After you use it to make a few batches of homemade kombucha it will mature and develop into a more uniform Scoby.
Starter Liquid
So, what to do with the liquid you brewed to make your Scoby? It’s probably too vinegary for drinking, especially if you’re new to kombucha, and it may even give you a stomach ache. You can set it aside to use for your first homemade batch of kombucha, but it also makes a pretty good cleaning solution however for your kitchen surfaces. You can also use this liquid as “starter liquid” to basically inoculate another batch of sweet tea with the helpful bacteria to get that tea fermenting as well.
Some other notes for growing your own Scoby at home; be sure to use a tightly woven fabric to cover the jar. Some people have experimented with materials like cheese cloth and have found that it allows small insects to still get inside the mixture, something you definitely don’t want.
You can use organic sugar for making your Scoby, or ordinary granulated table sugar. What you want to avoid is alternative sugars for your brew such as brown sugar, honey, etc. It’s widely agreed that black tea is the best to use for making a Scoby, but for a lot of families they prefer oolong, as does my family.
Once you start brewing your own batches of kombucha, feel free to mix it up with different types of teas to see which you like best, but stick to black tea for making the Scoby. Some people may find that their Scoby looks different than described as it forms. You may see yours looking stringy, with small brown pieces. In addition to the clear, jelly-like film, this is perfectly normal.
Indicators…..
The brew will also smell tart with a hint of vinegar to it, and as the process goes on it will become more pronounced. All of these indicators are signs that everything is going normal and fine.
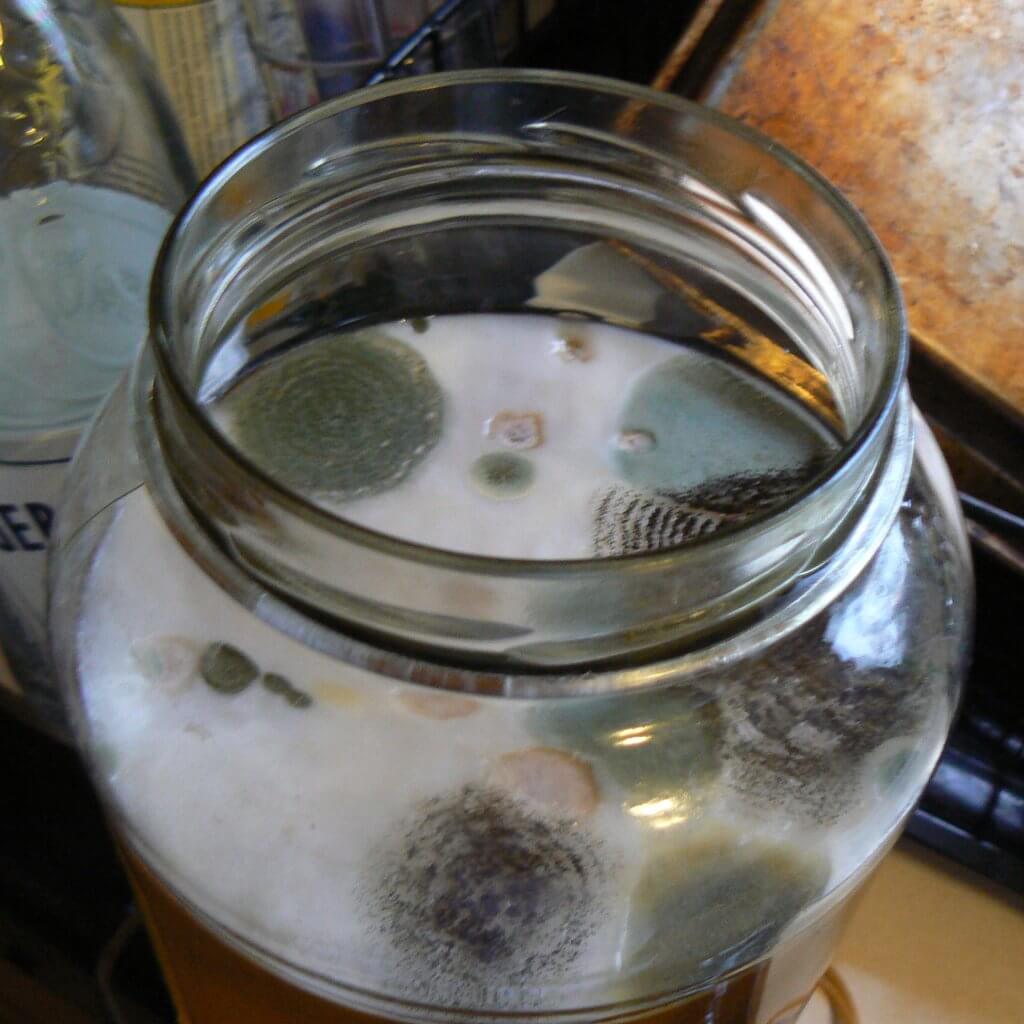
If, however you see any fuzzy green or black mold forming on your Scoby, or if the tea has a rancid aroma to it, this means that bad bacteria has gotten into the mixture and you’ll want to discard it and start over with a fresh batch. If you find yourself undecided at how things are progressing, just give it some time. The forming of a Scoby is a slowly evolving process, and as it continues to ferment it will be more recognizable whether or not yours is good or gone bad. The example below is of bad mold forming. Once you get the hang of it, it gets very easy to determine between good and bad growth!